
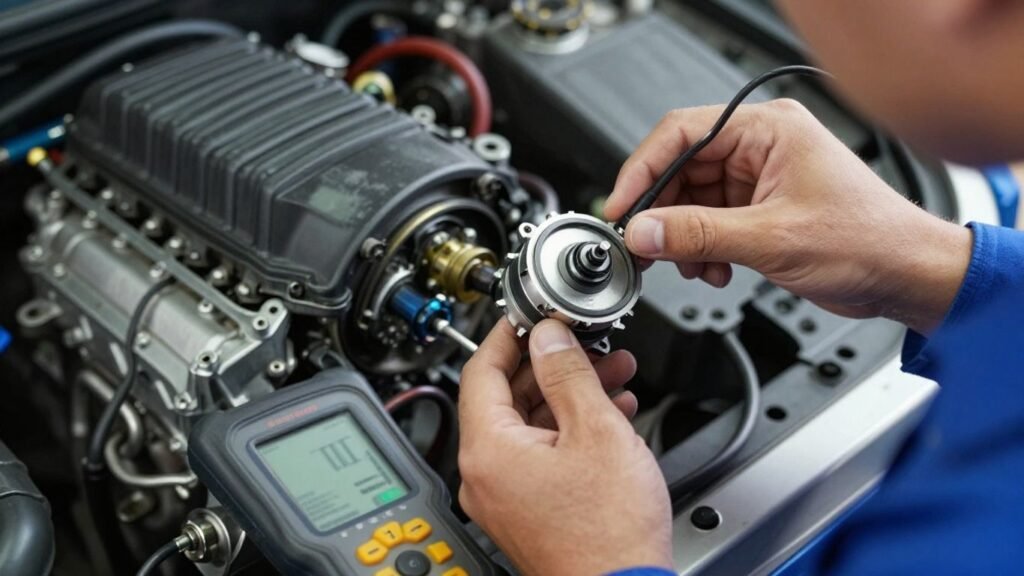
Key Takeaways
Navigating the secondary market for automotive electronics requires a blend of mechanical intuition and research. By following structured testing protocols, enthusiasts can identify functional components and avoid common pitfalls.
- Match part numbers exactly to ensure compatibility with your specific engine management system.
- Prioritize sensors with known low failure rates to maximize the value of your purchase.
- Always perform bench testing before final installation to confirm electrical continuity.
- Documentation from the donor vehicle provides critical context regarding potential remaining lifespan.
- Avoid purchasing discarded safety-critical electronics where internal circuitry wear is unpredictable.
The risks and rewards of buying used engine sensors
Sourcing replacement electronics through salvage channels involves a calculated trade-off between immediate savings and the uncertainty of component longevity. When you select used engine sensors, the primary benefit is the significant reduction in cost compared to dealership pricing for new modules. However, these savings come with the inherent risk that the electronic internal components may be approaching the end of their design life or could have suffered from exposure to harsh environmental conditions while sitting on the yard.
Identifying high-failure components versus long-term parts
Some engine sensors, such as high-temperature exhaust probes or delicate internal pressure transducers, are prone to thermal degradation over time. While passive components like certain housings remain durable for the life of the vehicle, the active electronic sensing layers often lose precision. Assessing the likelihood of failure requires reviewing the typical lifespan of the specific part against the mileage of the donor vehicle.
When it makes sense to save money with used electronics
Choosing recycled parts is most logical for non-critical, easily accessible peripheral sensors that do not compromise vehicle safety if they fail prematurely. If the replacement task is simple and the cost of the part is negligible, the experiment involves little risk to your overall budget. This method is effective for hobbyists or those working on budget-friendly restoration projects where a brand new unit would represent an outsized portion of the total build cost.
Warranty and return policies for second-hand parts
While traditional retailers offer robust guarantees, private parties and salvage yards often provide limited windows for returns or exchanges. It is vital to clarify these terms before finalizing any monetary transaction. Always ensure you have a clear path to recourse, especially when dealing with expensive items, as the potential for internal failure is always higher in parts that lack provenance or testing verification.
Critical sensors that should never be purchased used
Certain items are better left to the purchase of new, certified parts to prevent catastrophic engine failure or dangerous operation. This category includes fuel pressure sensors, air-bag triggering units, or primary engine-control modules where even minor internal oxidation can cause inconsistent data transmission. Prioritizing new parts in these areas prevents the need for double-work and costly diagnostic troubleshooting later on.
Essential tools for testing used sensors
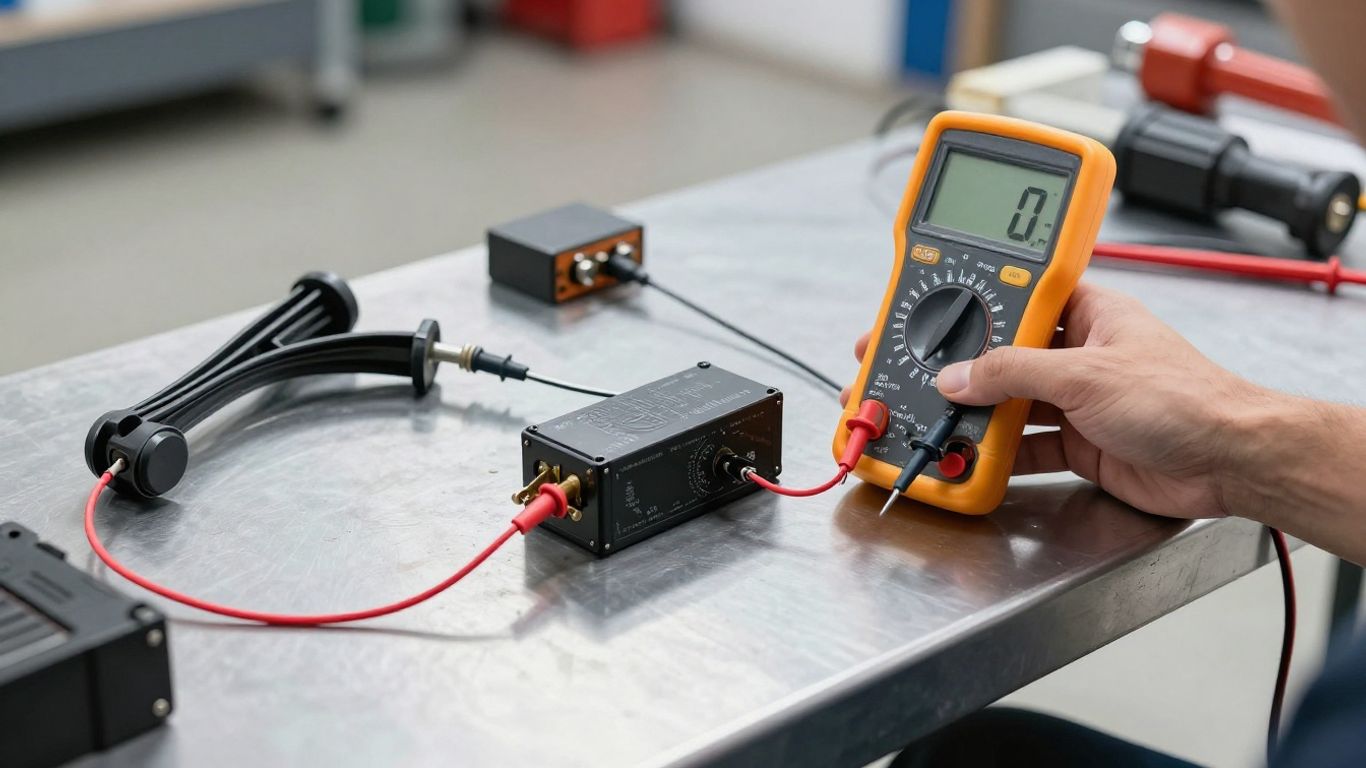
Equipping your workspace with the right diagnostic gear is a mandatory step before you even consider installing a pre-owned part. Accurate measurements allow you to catch faulty components that might pass a visual inspection but fail to communicate signals effectively to the Electronic Control Unit. Without these tools, you are essentially guessing, which often leads to wasted time during the installation process.
Utilizing a digital multimeter for resistance checks
Testing the internal resistance of a sensor provides an immediate snapshot of its electrical health. By comparing your readings to manufacturer specifications, you can distinguish between a healthy unit and one that has developed an internal short or open circuit. This simple process is the foundation of identifying whether a part is electrically viable or destined for the recycling bin.
Reading live sensor data with an OBD II scanner
Advanced diagnostic scanners can display real-time values from the sensor when it is temporarily powered on the bench or after a quick preliminary installation. Watching the stream of data confirms that the device is actively reporting changing values under stimulus. This confirms that the internal computer chip inside the sensor is still active and capable of sending the necessary signals.
Checking terminal condition and wiring harness integrity
Visual examination of the connector pins is an often-overlooked necessity that determines the success of a repair. If the terminals are corroded or loose, the connection will be intermittent regardless of how perfect the internal sensor circuit might be. Inspecting the plastic housing for cracks and verifying that the seals remain pliable helps prevent moisture intrusion from causing future failures.
Using a heat gun to simulate operational stress
Subjecting a sensor to controlled warmth can reveal intermittent failures that only manifest when the engine is at operating temperature. By gently applying heat while monitoring with a multimeter, you can observe if the resistance drifts abnormally or goes open circuit. This approach effectively helps you detect components that function perfectly cold but fail under the demanding conditions of an engine bay.
Common engine sensors and how to inspect them
Detailed inspections of the most frequent point-of-failure sensors save significant time during large maintenance jobs, according to data provided by Valeo. Different sensors operate on distinct physical principles, which dictate how you must verify their performance. Below is a breakdown of simple testing requirements for common components that frequent the spare parts market.
| Sensor Type | Inspection Method | Passing Criteria |
|---|---|---|
| MAF Sensor | Hot wire test | Steady voltage shift |
| Crank Position | Magnetic field induction | Consistent pulse signal |
| Throttle Position | Smooth resistance sweep | Linear signal change |
Mass Airflow (MAF) sensor inspection tips
Cleaning the delicate filaments within a mass airflow sensor is the first step in restoration, as buildup significantly alters the reported air volume. Use only approved solvents that do not leave a film behind, as contaminants can cause the sensor to read incorrectly. Once clean, verify the output voltage matches the expected range for the idle state of the engine.
Crankshaft and camshaft position sensor diagnostics
These sensors rely on hall-effect or inductive properties to report the exact timing of engine internals. When testing, you are checking for a consistent square wave signal as the sensor passes near a ferrous metal object. An inconsistent signal or a complete lack of response during this test clearly signifies that the internal coil or magnet has failed, rendering it useless.
Understanding oxygen sensor degradation and cleanliness
Oxygen sensors are constantly exposed to combustion byproducts, which eventually bake an insulating layer onto the probe tip. While some cleaning is possible, notice that significant, deep-set carbon buildup often means the chemical catalyst inside is already exhausted or poisoned. If the sensor takes too long to toggle between rich and lean states during a live test, it is effectively worn out.
Throttle position sensor voltage sweep tests
Utilizing a multimeter to track voltage changes as the throttle opens is the most effective way to identify the dreaded dead spots. As you slowly rotate the device, the voltage should climb smoothly without any sudden drops or spikes in the meter readout. Any jitter present during this motion is a sign of worn resistive tracks that will inevitably cause engine hesitations.
Where to source reliable used engine parts
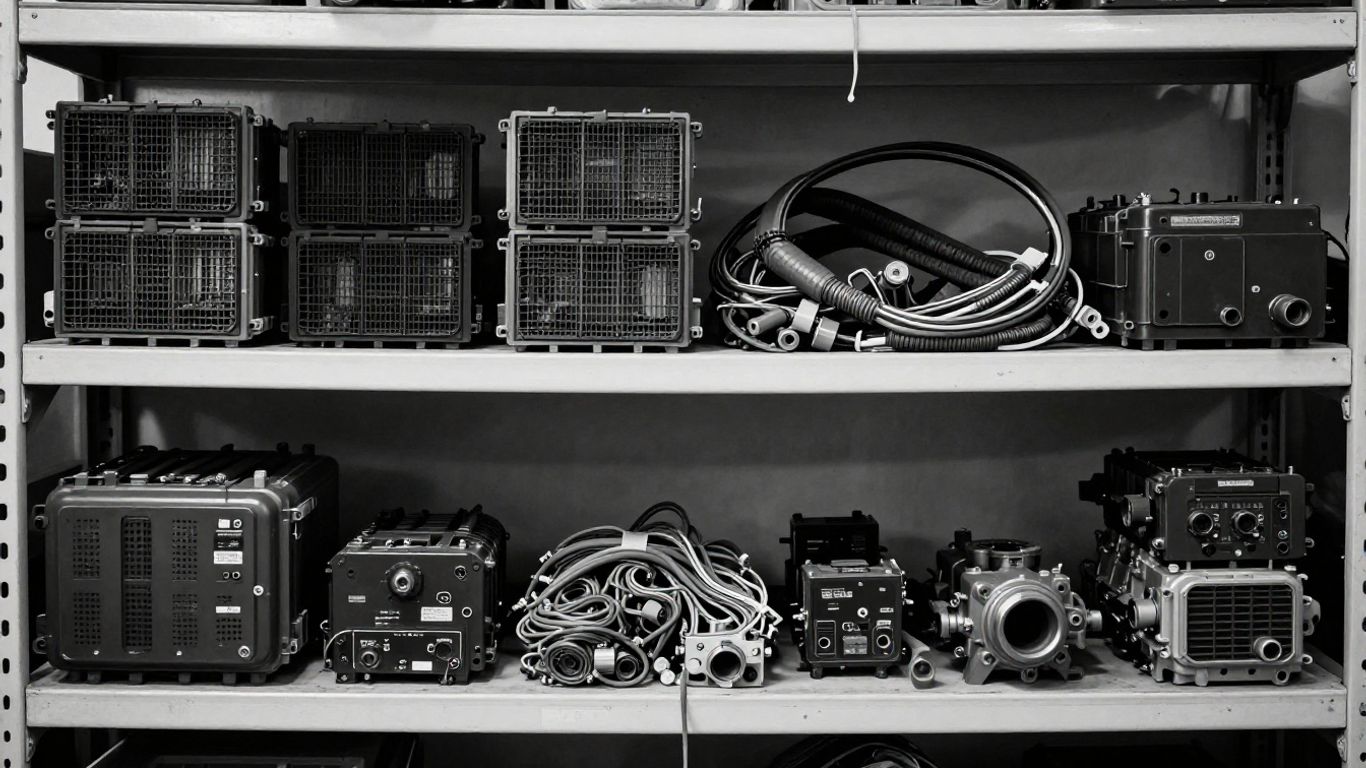
Knowing where to look is as important as knowing what to buy when you are hunting for affordable parts. The source location dictates the quality and exposure level of the components you intend to utilize for your repair. You might consider checking Burrows Financial Terms of Use before agreeing to private sales, as clarity on financial liabilities often differs based on where the transaction takes place.
Pros and cons of local salvage yards versus online parts portals
Local yards allow you to inspect the vehicle state personally, while online portals provide access to a much wider variety of specific parts. Buying locally is often faster but relies entirely on what has arrived at the yard recently. Online platforms, however, often include better photos and part-number verification features that help avoid buying mismatched items from incompatible trim levels.
Verifying vehicle mileage and donor maintenance history
Low-mileage donor vehicles are significantly more likely to contain sensors with remaining service life versus high-mileage examples. Look for service records or evidence of recent maintenance in the engine compartment that might indicate the parts were replaced shortly before the vehicle was retired. These markers are excellent indicators of the potential reliability of the salvaged component.
Assessing the environmental exposure of salvaged engines
Engines that have been sitting open to the weather will often have rust and contamination deep inside the sensor ports. Environmental exposure accelerates the oxidation of connectors and can seize components into their mounting points. If a salvaged engine shows signs of excessive water damage or debris intrusion, it is safer to pass on all associated electronic components.
How to evaluate transparent seller documentation
Qualified sellers will provide photos of the part-number tags and notes about the donor vehicle’s history. A good listing usually follows a clear format:
- Manufacturer part number printed on the housing
- Clear photos of all connector pin orientations
- Stated mileage from the original vehicle chassis
- Notes on known defects or recent vehicle services
When these details are provided, the risk of receiving an incorrect or already-failed part is drastically minimized, helping you feel confident in your purchasing choices.
Cleaning and restoring used sensors for better performance
Restoration is not always possible, but careful cleaning can extend the usability of sensors that are simply dirty rather than broken. Mechanical cleaning processes must be handled with extreme care to avoid damaging the internal electronics that are hidden behind the probe tips. Using the right techniques transforms a crusty, unusable sensor into one that communicates clearly again.
Safely using electronic contact cleaner on sensitive circuits
Always use specialized sprays designed solely for electronics to ensure no oily residues remain. These cleaners are designed to evaporate quickly and leave contacts clean, which is essential for ensuring that resistance values remain accurate. Avoid using generic degreasers or other automotive solvents that might attack the delicate plastic coatings found on many modern sensor housings.
Removing carbon buildup from sensitive probe tips
Carbon deposits prevent sensors from measuring air or gas concentrations correctly, but removing them requires a gentle touch. Light application of a specialized cleaning brush or a precise solvent wipe can lift surface contaminants. Avoid aggressive scrubbing with wire brushes or metal implements, as any scratch on the probe surface can lead to a premature failure due to hotspots or material loss.
Proper removal of oxidation on metal connectors
Oxidized pins prevent the transmission of clean data and lead to frequent error codes. A light sanding with an ultra-fine emery board or the use of a specialized non-conductive contact lubricant can restore the connection quality. Once cleaned, the pins should look bright and metallic, indicating a solid contact surface for the vehicle harness to grasp.
Identifying irreversible damage that requires replacement
Not every component can be saved, as some damage is internal or structural. If the housing is crushed, the internal wiring is physically severed, or the sensing element itself has melted, there is no effective repair. Recognizing when to stop attempting a restoration and simply purchasing a replacement unit saves the time that would be wasted on a hopeless attempt.
Troubleshooting post-installation issues
Even after a successful installation, you might find the check engine light persists, which leads into the final, critical stage of your repair. Troubleshooting often feels like a logical flow, but the most important task is differentiating between the part you installed and the wiring that feeds it. Following the proper procedures ensures that you are actually fixing the issue rather than just chasing symptoms.
Clearing error codes after sensor replacement
Simply replacing a sensor does not always result in an immediate clearing of the warning lights on your dash. You must use a diagnostic tool to command the system to clear the stored fault codes from the permanent memory. Once cleared, allow the engine to complete a full drive cycle, which forces the system to re-verify that the sensor signal is within the expected parameters.
Performing an ECU idle relearn procedure
Modern vehicles often need to be taught how to idle again after a major change in sensor hardware, such as a new MAF or throttle sensor. The engine computer relies on specific learned values from the old, worn parts, and these must be cleared and reset. Following your specific vehicle’s idle relearn process ensures that the engine recovers its stable, smooth running quality.
Differentiating between a faulty sensor and underlying wiring faults
Many seemingly bad sensors are actually perfectly fine units suffering from a broken wire or a bad connection located deeper in the harness. If the new part continues to produce erratic data, check the voltage supply and ground path at the harness connector itself. This simple check prevents the common mistake of throwing multiple parts at a wiring problem that a new sensor will never solve.
Recognizing "sensor not ready" states in emission tests
If you have cleared your computer and gone for a drive, your vehicle may enter a "not ready" state where the monitoring systems have not yet passed their internal self-checks. This is a normal part of the process required for emission testing. You must complete a mix of city and highway driving to satisfy the system, proving that the installed sensor is operating correctly under all conditions.
Conclusion
Buying and testing used engine sensors is a skill that balances technical caution with the practical objective of maintaining a vehicle on a reasonable budget. While the process demands careful sourcing, thorough bench testing, and methodical installation, the rewards are measured in both significant financial savings and a deeper understanding of your engine’s internal health. By adhering to the diagnostic standards outlined for verifying electronic integrity before and after installation, you ensure that your vehicle runs efficiently and reliably, minimizing the necessity for future interventions and maximizing your long-term satisfaction as an automotive enthusiast.
Frequently Asked Questions
Is it ever safe to buy used safety-critical electronic modules?
Safety-critical components, especially those that trigger airbags or control braking systems, should generally be purchased new to avoid unpredictable software or material fatigue.
How can I tell if a sensor was damaged during salvage?
Look for damaged outer plastic housings, bent connector pins, or signs that the engine bay sustained significant fire or water intrusion during its lifecycle.
Do used sensors work differently than new ones?
If they are fully operational, they function exactly the same, but the internal electronic components may be aged, leading to a shorter remaining service life than brand-new parts.
Should I always replace all related sensors at the same time?
While optional, replacing sensors in matched sets can ensure your engine management system sees consistent response times, particularly for related groups like oxygen sensors.
How accurate are universal OBD II tools for testing?
Standard OBD II scanners are excellent for reading real-time output values and clearing codes, providing enough data for most DIY diagnostics and routine sensor evaluations.
Why does my check engine light return after cleaning a sensor?
If the light returns, it often indicates that the internal sensing mechanism has already reached the end of its functional life, and cleaning only masked the failure temporarily.
Can I use household cleaning supplies on engine electronics?
Absolutely not, as household cleaners often contain water, chlorine, or residues that can cause immediate corrosion and catastrophic electrical failure to sensitive modern circuitry.